Esherick (esque) Stool
Inspiration
Wharton Esherick was a celebrated woodworker and artist who’s designs incorporate, but also transcend, the Arts and Crafts movement of the early 1900’s. One of the first pieces of furniture I saw when entering the shop where I refined my woodworking skills was a three legged, Esherick style stool that my teacher Albert had made early in his career.
I was blown away by how Albert could have something so beautiful sitting at the off-cut table behind his table saw (a place where woodworkers get messy with glue ups and sanding, chiseling and planning). I knew someday I wanted to grow into a woodworker with enough skill to produce a similar stool to sit at my workbench as well. To me, the stool symbolized the pride of a craftsman able to develop such a beautiful piece, and from it bring forward even more beautiful pieces of furniture from the shop.
When the Covid-19 pandemic hit North America in early 2020, I took the opportunity to spend more time in my woodshop, and finally produce a stool of which I can craft from proudly. Over the next few weeks I will take you, the reader, through the build process. Did I finish? What challenges did I meet along the way? How does one chose a template to shape a stool? All I can say is, read and find out.
Getting Started
If you thought finding toilet paper at the beginning of the pandemic was difficult, wait until you hear about finding dimensional hardwood lumber! Well… maybe not as difficult as I make it out to be. I had taken a break from woodworking since we had moved back from California, and the lumberyards I used to frequent in South Jersey and Philadelphia were either closed due to lack of customers, or closed to customers due to the pandemic. Luckily, I came across a hardwood lumber supplier near Trenton who had a beautiful supply of domestic and imported hardwoods and fantastic customer service.
The fine folks at Willard Brothers Woodcutters were able to supply my 8/4 Walnut and 8/4 white oak order for the color combination I was picturing in my head for the stool. The lumber was gorgeous with a nice grain running through the board. At this time, my shop did not have any electrical outlets, and I was limited to my hand tool collection. My Ryoba saw (a Japanese style hand saw that cuts on the pull, as opposed to English/American style saws that cut on the push) made quick work of cutting out the roughs for the seat.
Cutting the legs from the ultra dense 8/4 white oak with the Ryoba was not quite as quick as the walnut seat. By the end of sawing, I had four 2” x 2” x 25” blanks for my legs and a sore shoulder. Next week, I’ll cover shaping the legs and the importance of reading instructions.
Shaping the Legs
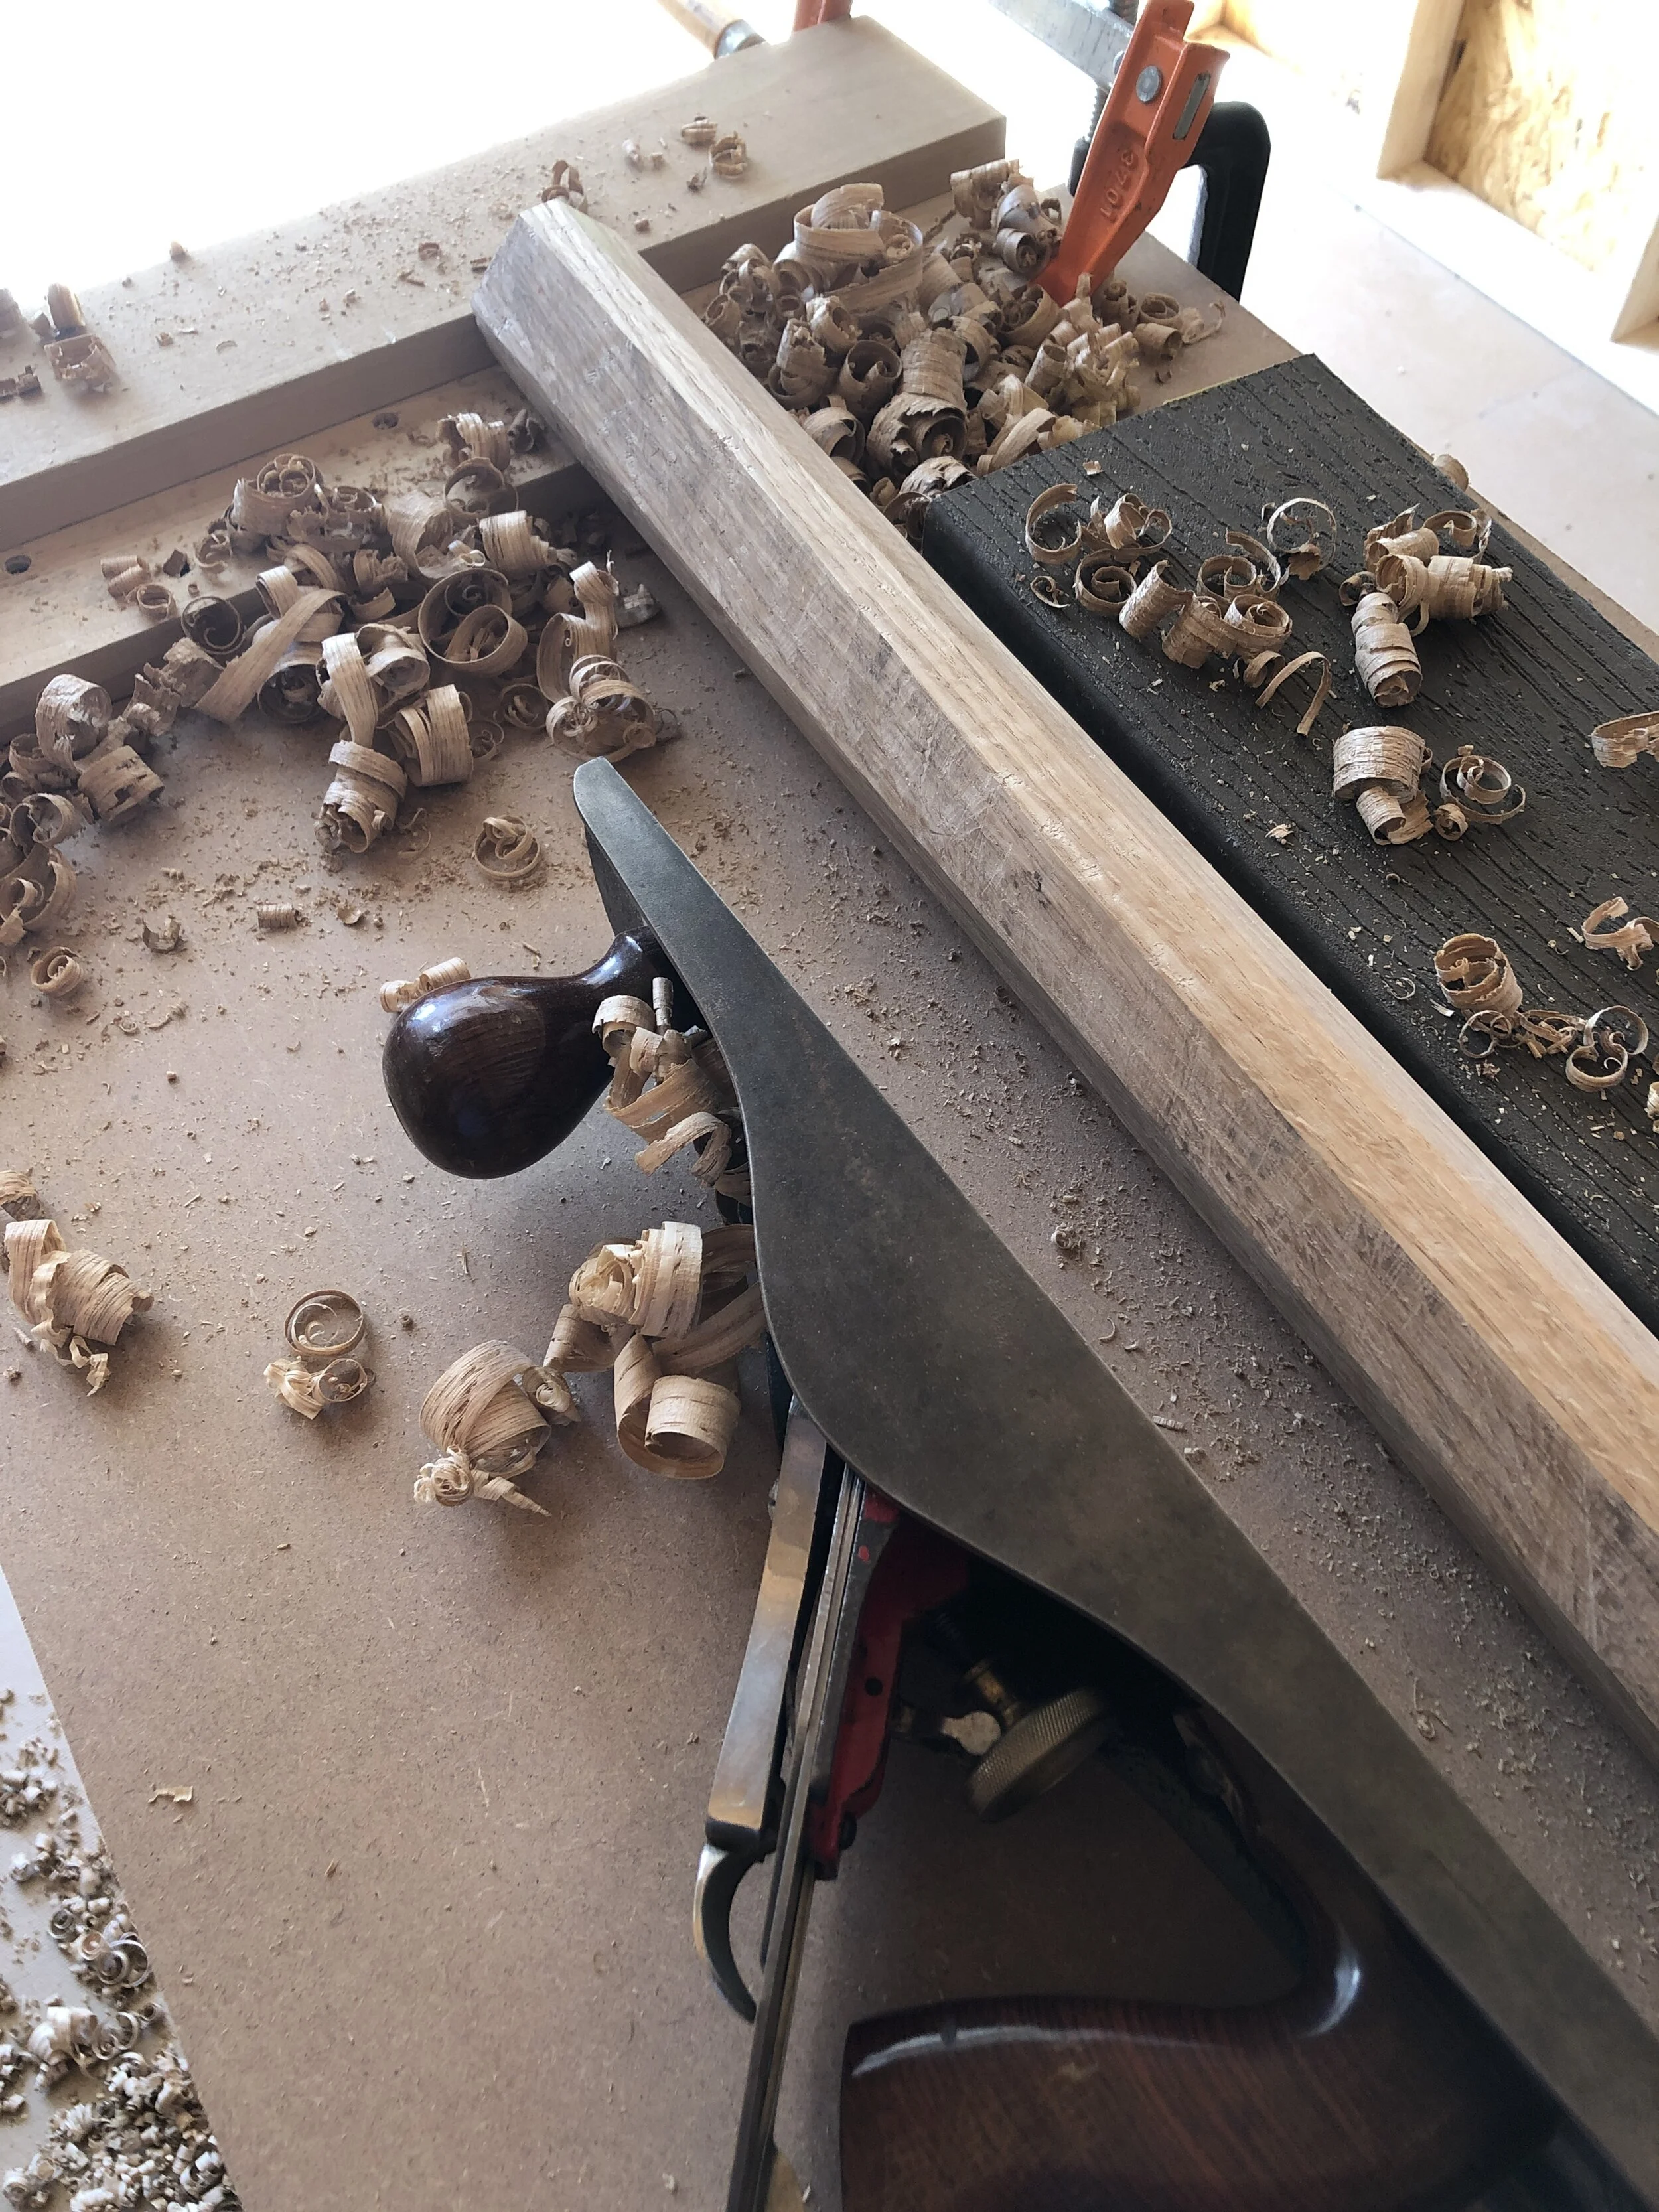
Shaping the four 2” x 2” x 25” square blanks into visually appealing round tapered legs was one of the more fun parts of this project. To shape the legs, I used a combination of my shooting board and my hand planes. The hand plane is designed to remove paper thin strips of wood when you run the angled blade over the surface of the lumber. When you mount the leg blank into a “V” shaped notch and continuously turn the piece while removing a thing layer of wood with the plane, you can turn a square into an octagon, into hexadecagon, into a triacontadigon, into a … well basically into a circle.
White oak planes beautifully, and going from a rough sawn blank into a smooth tapered leg was a very satisfying part of this project. This was the first glimpse into what the final product may look like, and I was happy with my lumber choice.
Finally, to complete the crossbars between the legs, I wanted to achieve a shape similar to a French chef’s tournée potatoes. While Tournée literally means “turned” in French, I did not have access to a lather to turn my blanks, so instead I followed a similar process to the larger legs, but made sure to taper to both ends of the wood. This was difficult, because I could decide to plane in the direction the grain agreed with, and I had to deal with more tear out for planning against the grain. Luckily, there was no tear out too bad for sandpaper to deal with.
Unfortunately, I performed all of this work BEFORE I realized that the most efficient way to drill the holes for the crossbars was to do so while the legs were still square. I guess this is why you read instructions before putting in a few hours at the bench with the hand plane. Luckily (spoiler alert!) I was able to drill the holes without incident later on.
Shaping the Seat
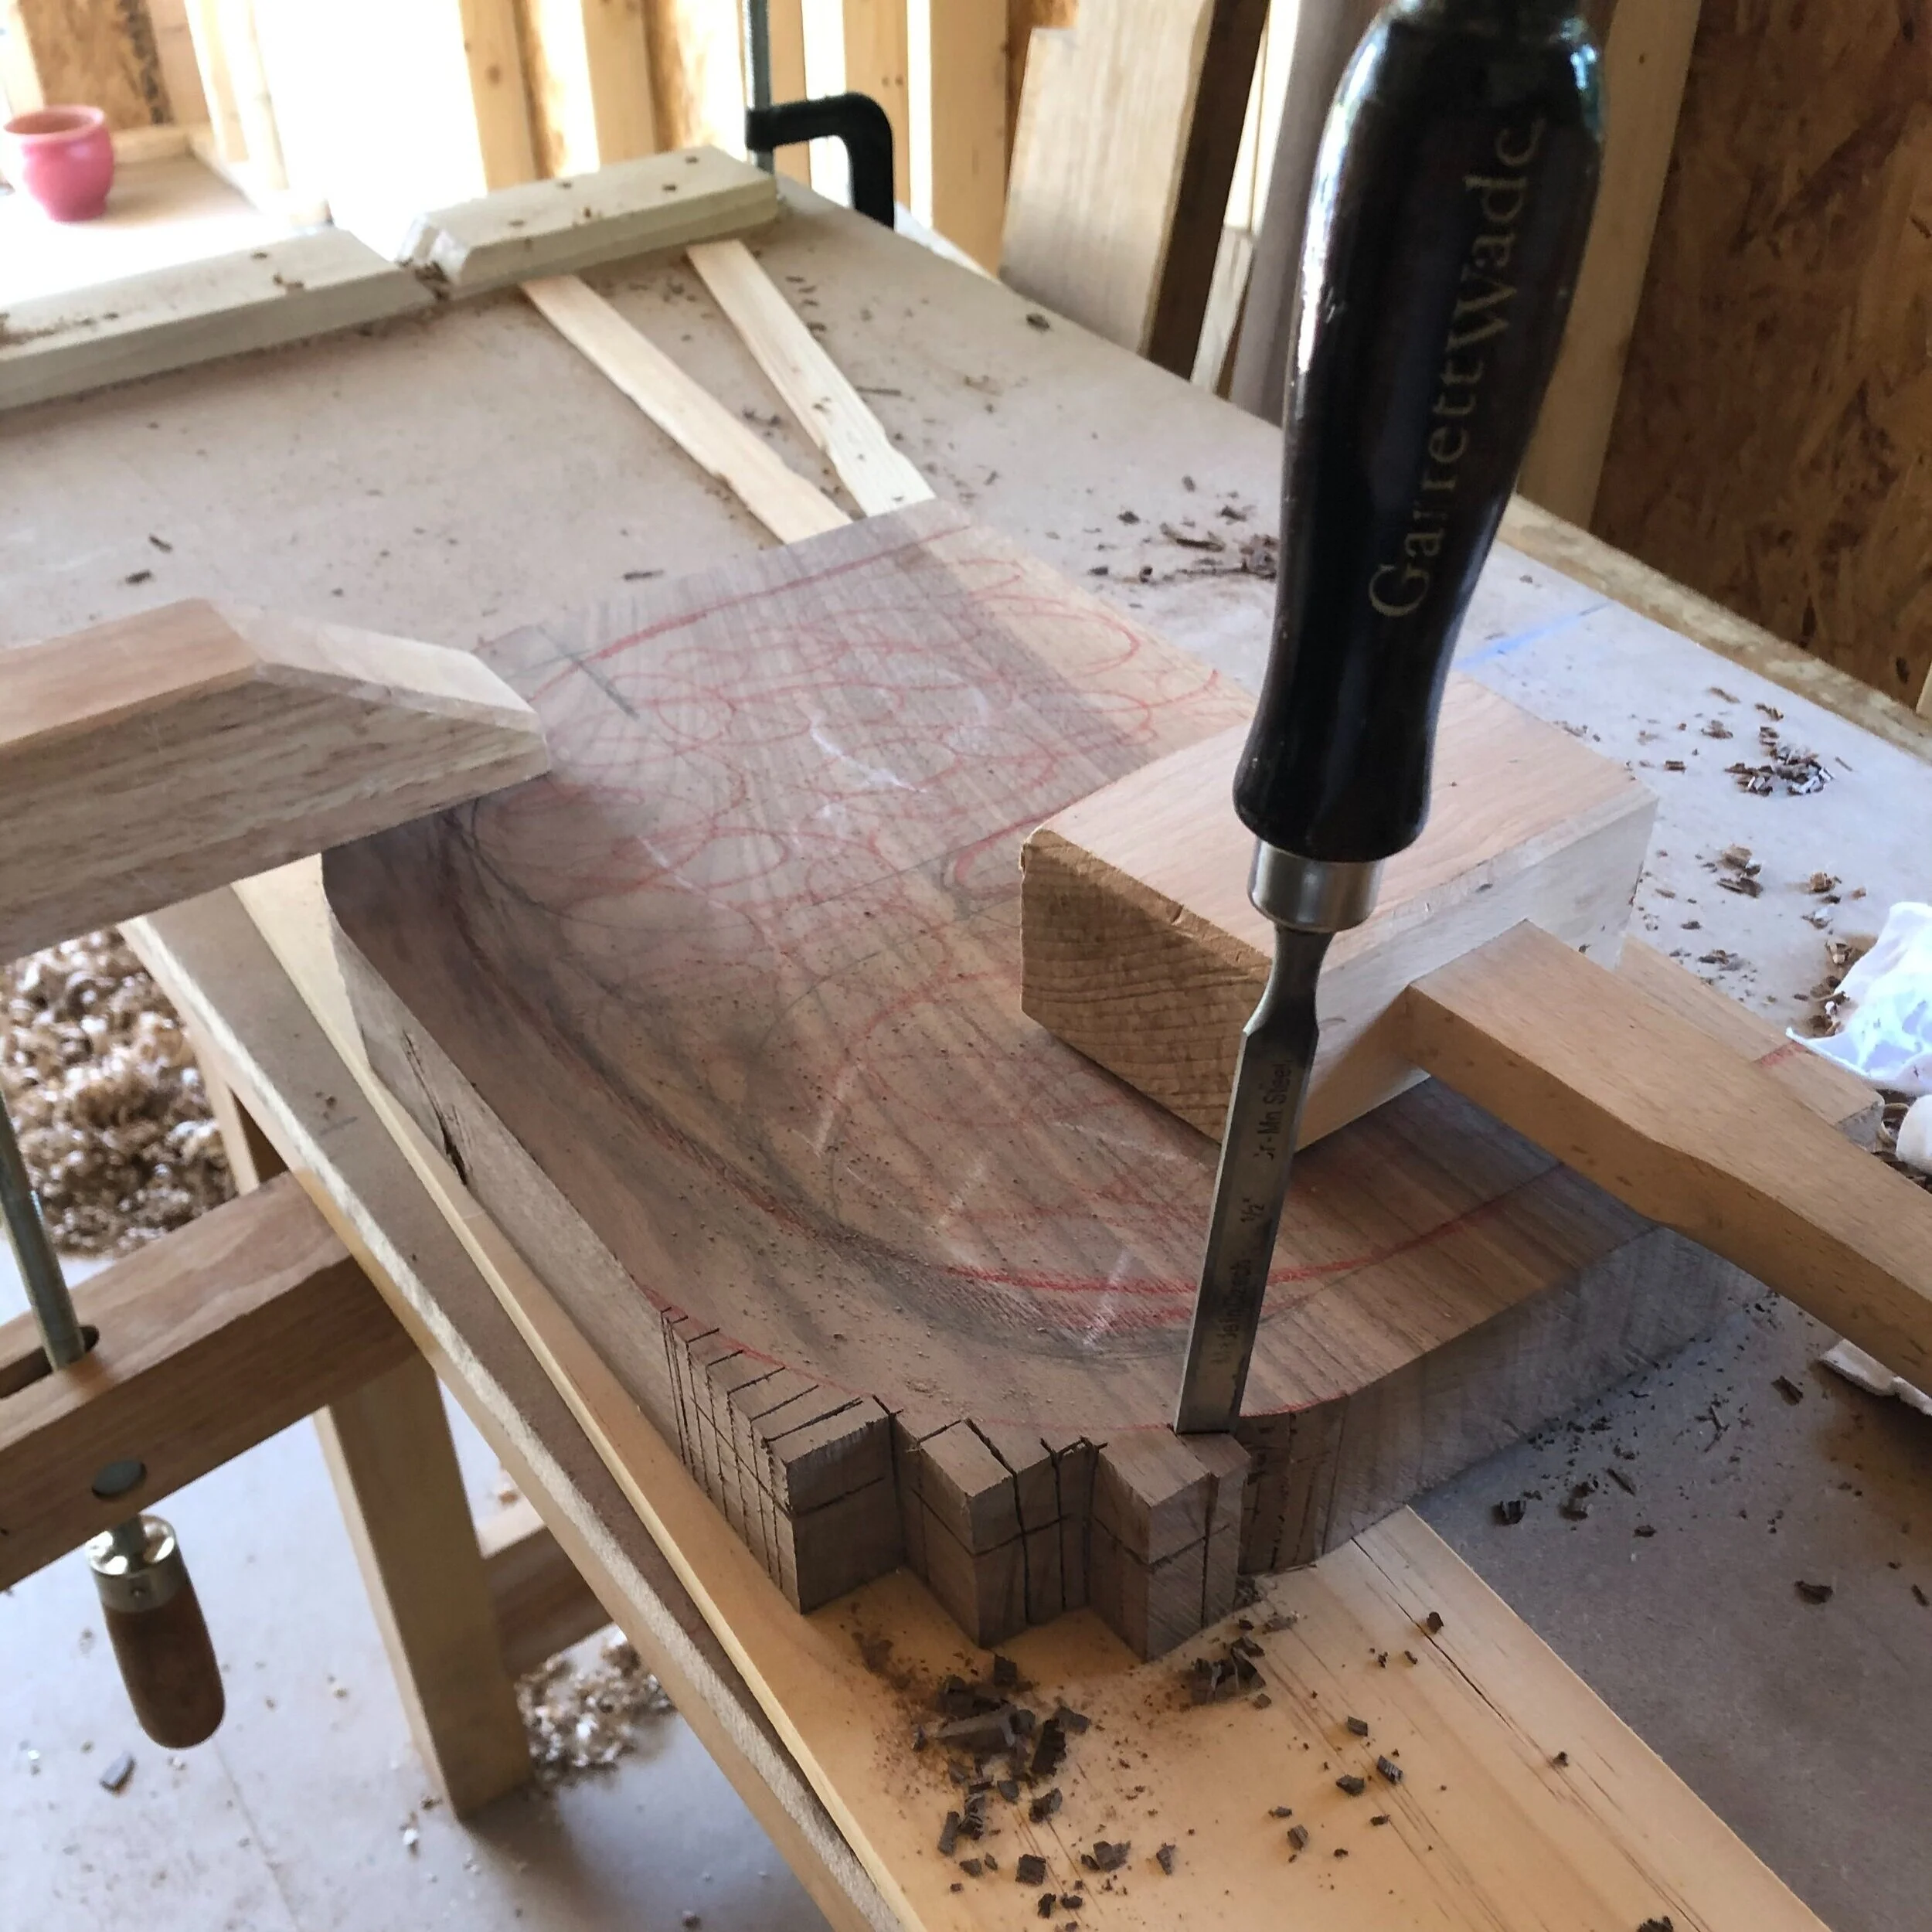
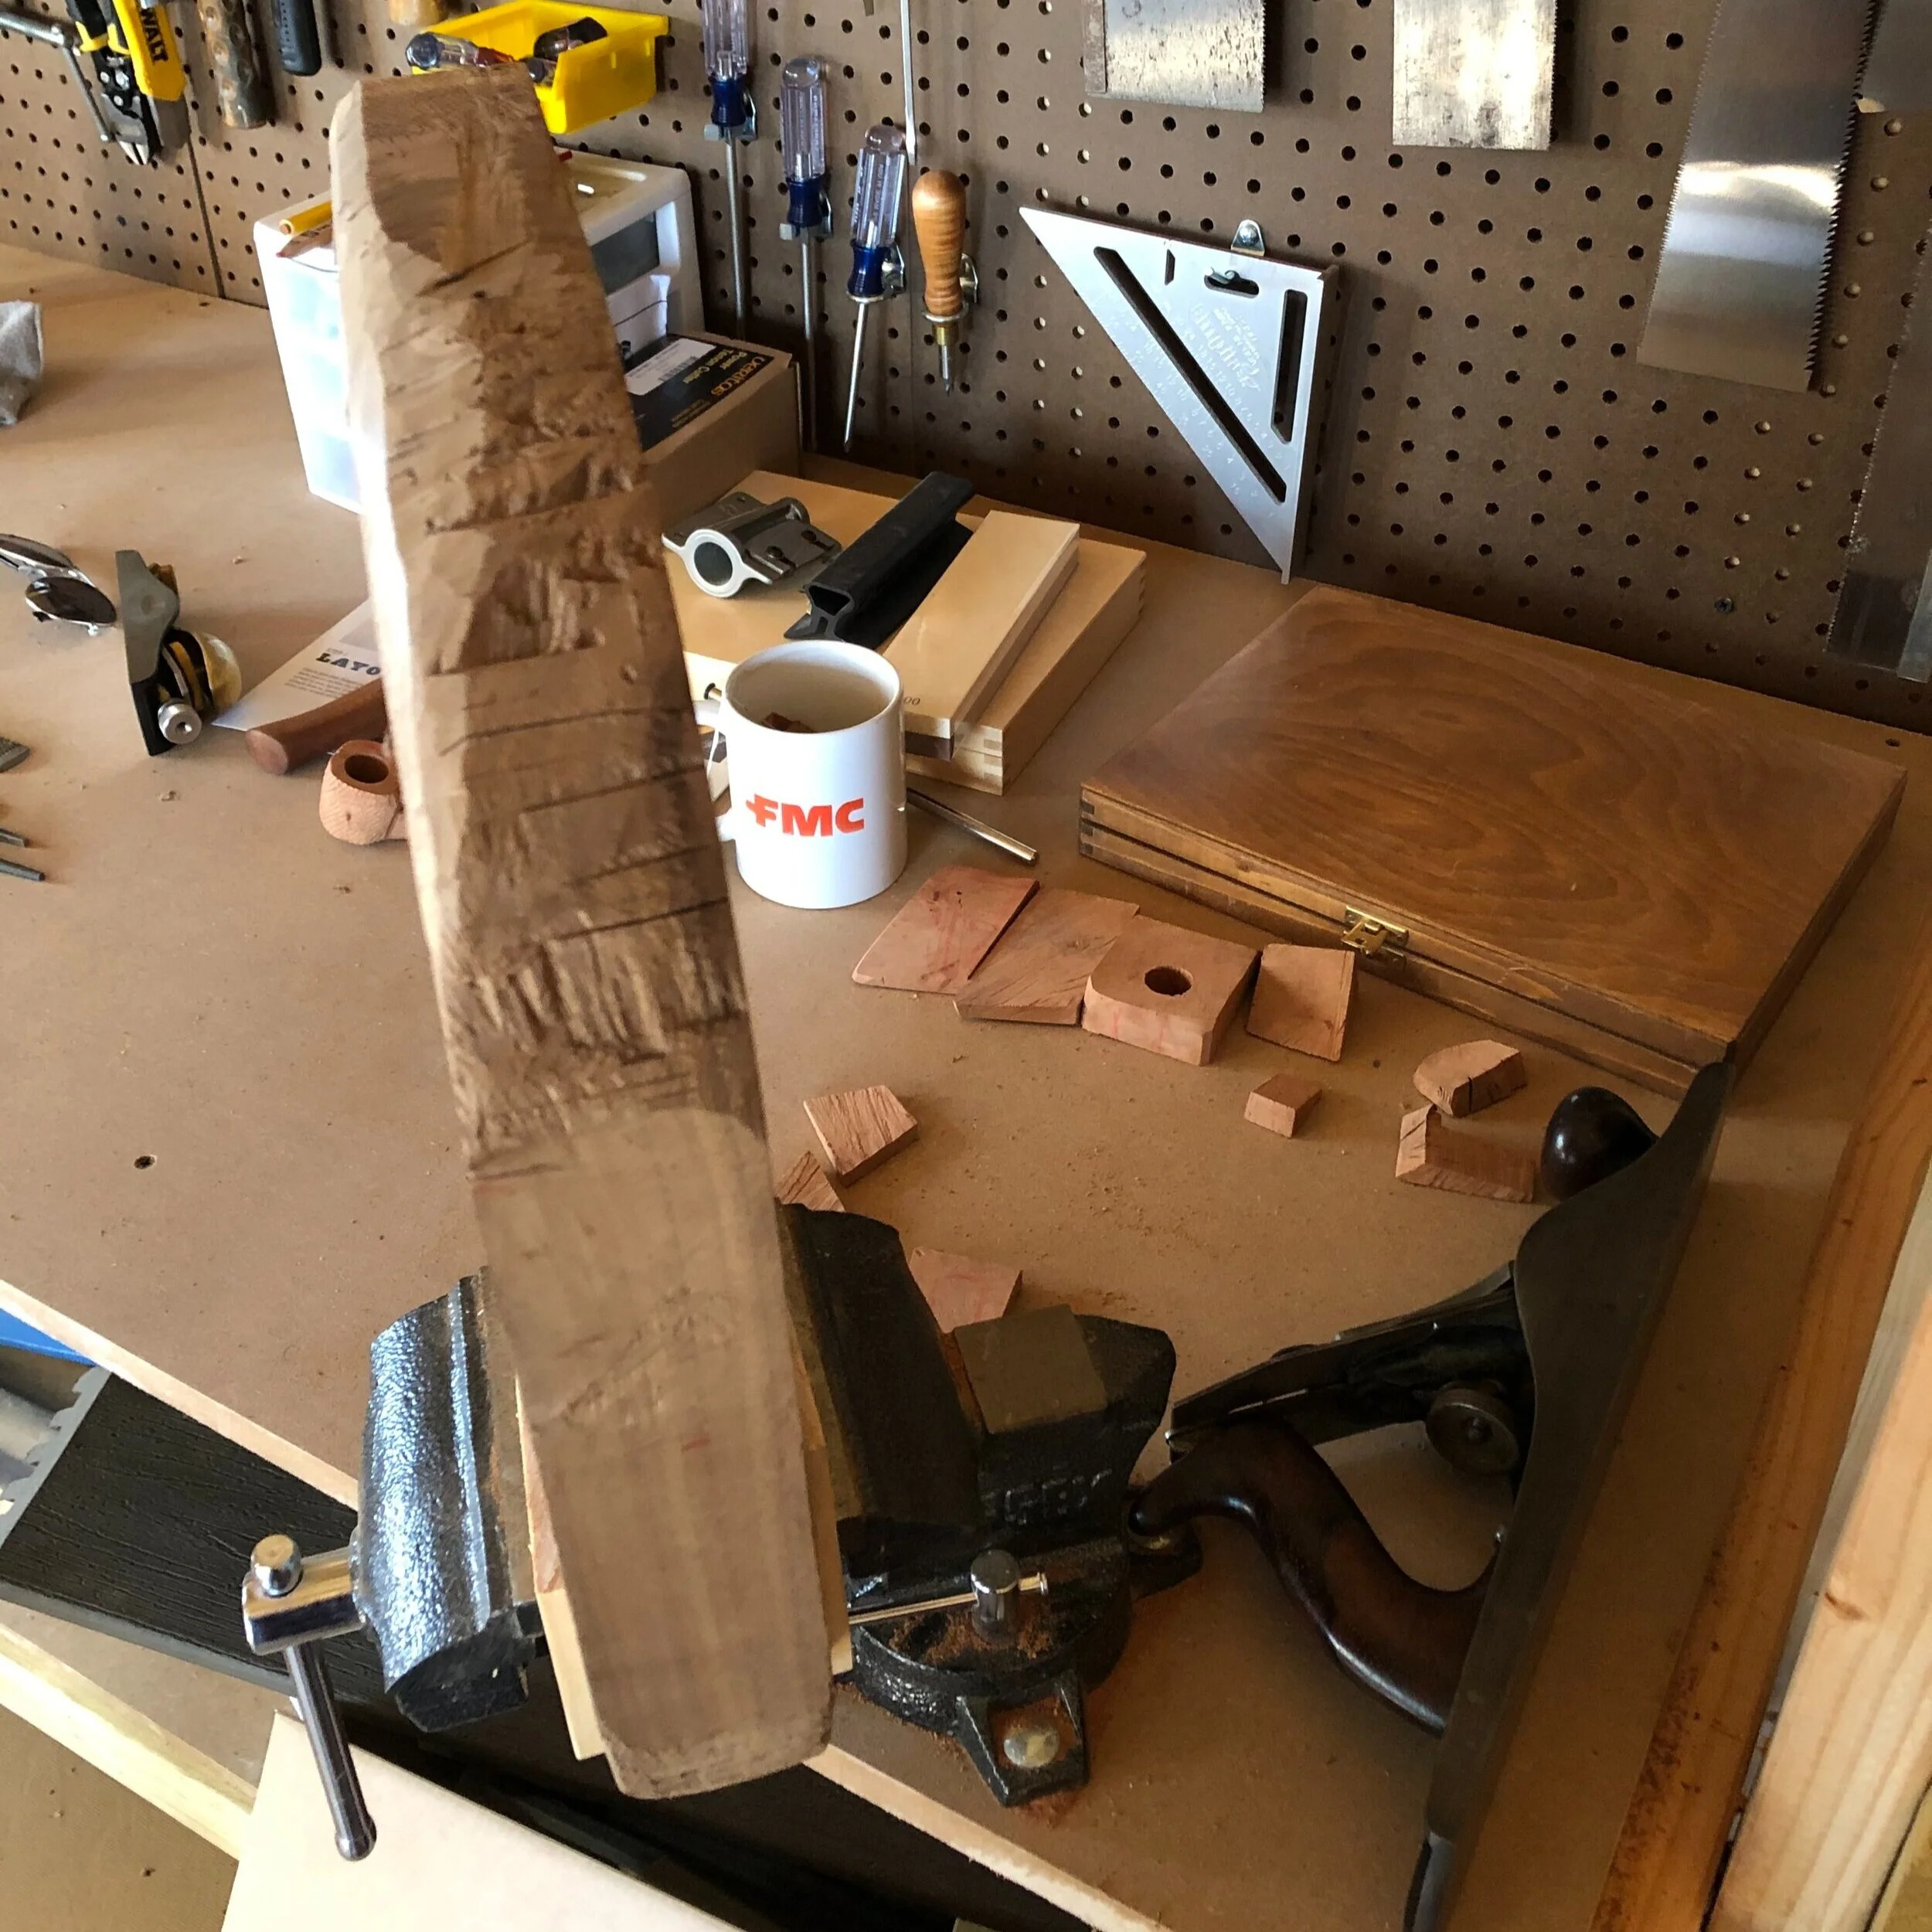
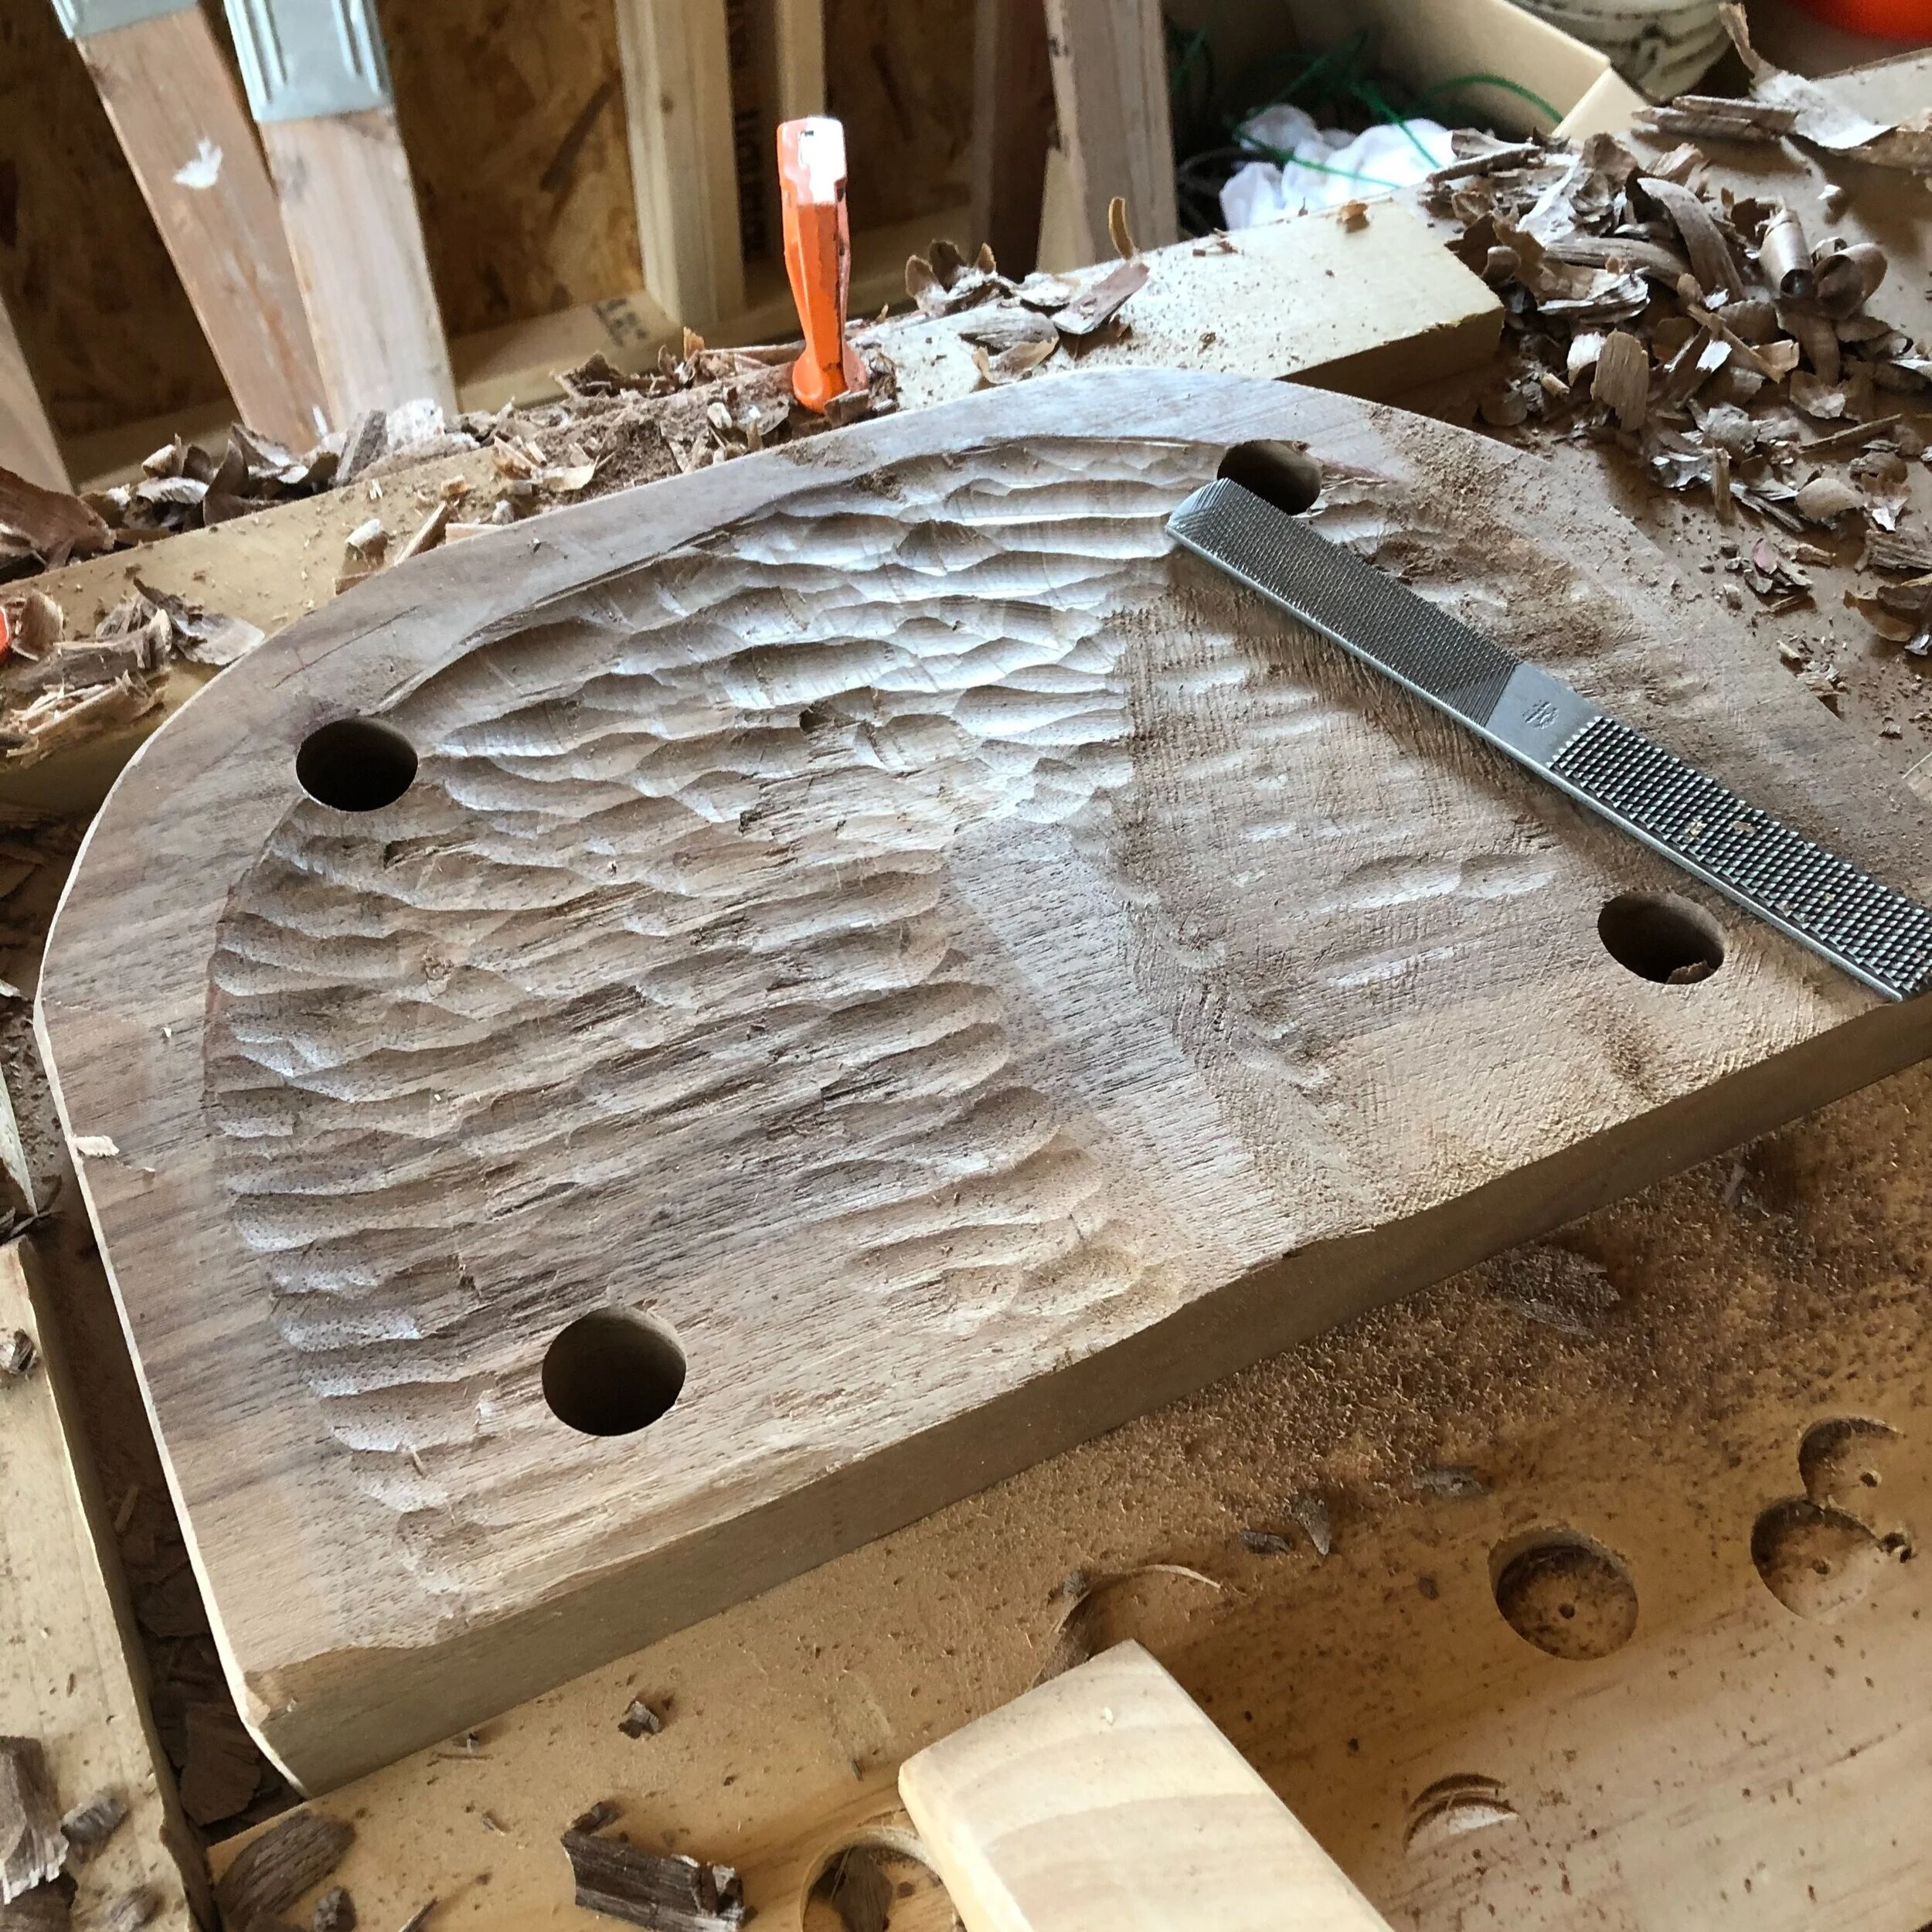
There is a delicate art to making a hard solid object like wood comfortable to sit on. There is a less delicate process to sitting on a piece of wood and drawing the outline of the preferred indent you would like. Once I had my ideal depression outline, I used a combination of my saws and chisels to remove as much material as possible from the rectangle blank I started the seat with. After removing the large chunks of extra material, I used a vice grip on my bench to hold the seat, and planed away additional material around the perimeter until my final shape was achieved.
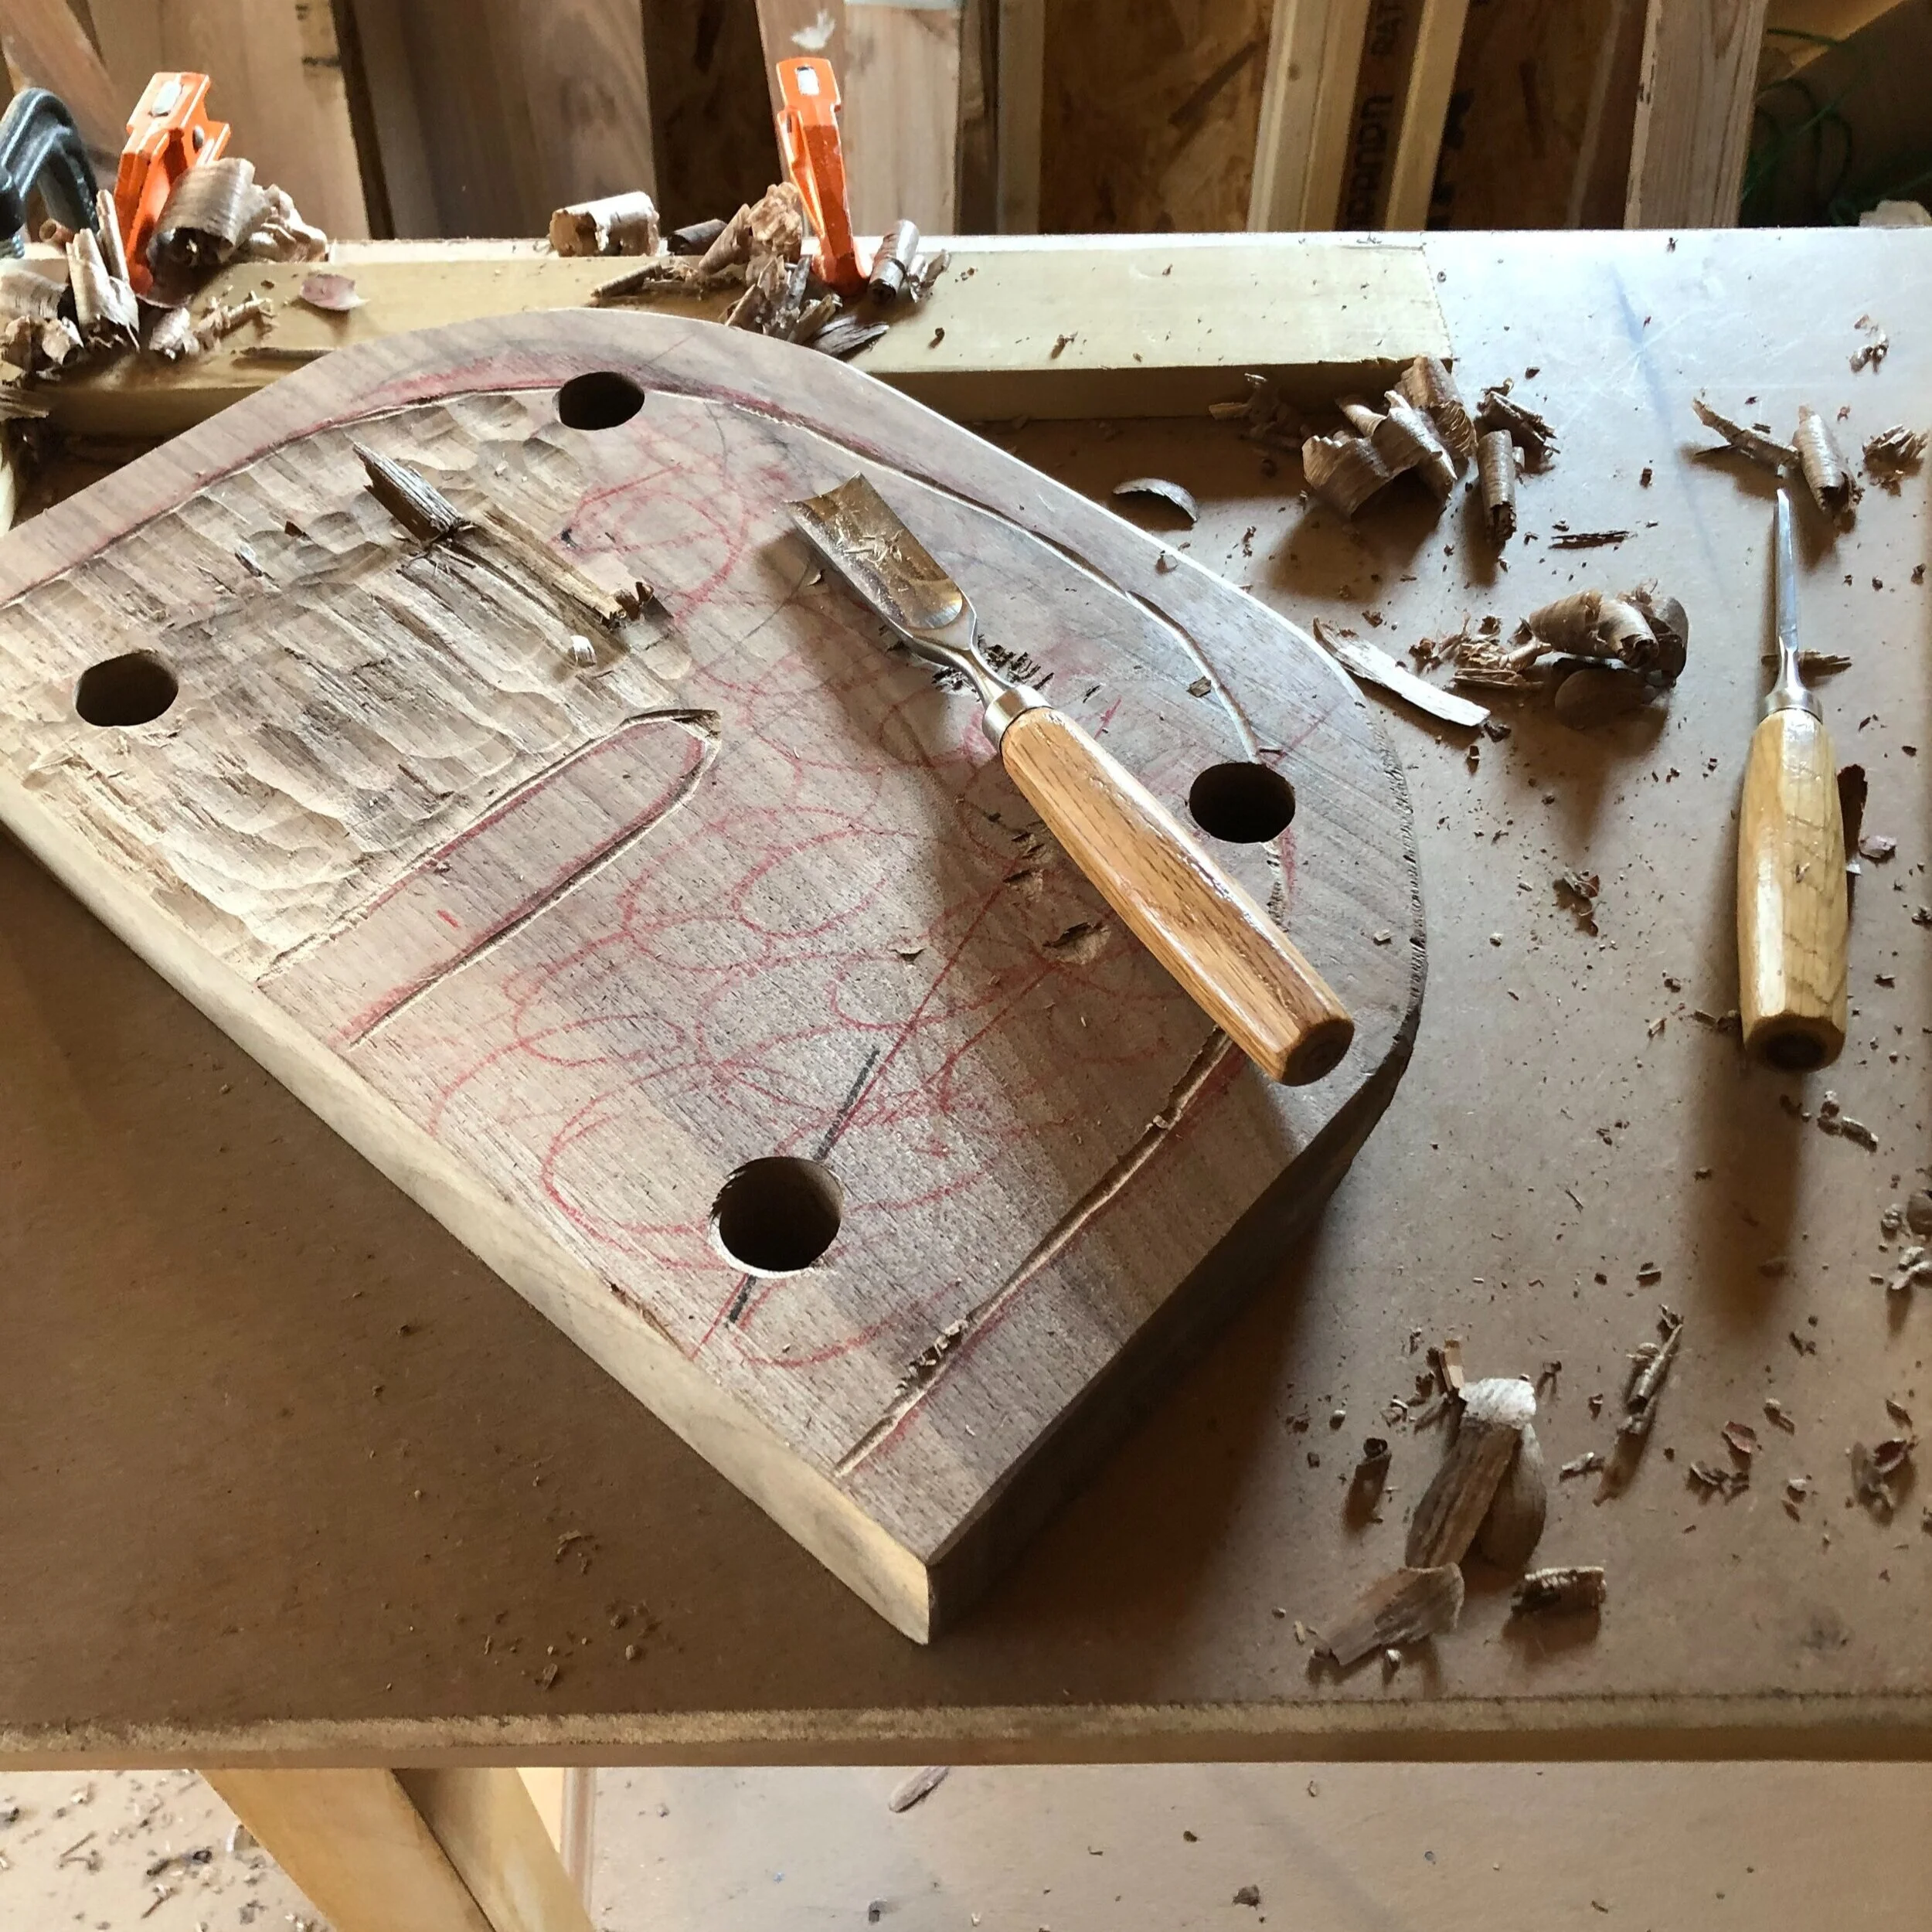
Once the blank was shaped properly, I started removing material from the depression in the seat. To do so I used sharp gouges, working with the grain to peel material away like butter. Prior to the shaping efforts, I used a angle setter for a cordless drill to drill out the holes that would house the leg tenons in the future. I’ll go into more detail on this process in the glue up section next week.
Finally, once I had removed as much material as possible using the aggressive gouges, I used less and less aggressive files and rasps to smooth out the seat area. I finally finished with a very long sanding process, working out the last of the textured gouge marks, as well as some of the tear out that inevitable occurs when using such a strong file on piece that requires you to approach from the wrong angle for the grain.
Glue Up
A woodworking project starts to feel like a jigsaw puzzle as you approach the end. I spent the better part of a month shaping the components of the stool, and now it was time to put them all together. This is an exciting time, because it is when you catch those first glimpses of the final product.
First, I spent an entire day sanding every individual component. I started with a rough grit (120) sandpaper to remove a large amount of material, and worked my way down to a fine sandpaper (220) which removes the least amount of material, but provides a smooth to the touch finish. Then, I laid my individual components out to take stock and ensure I had everything I needed. I fashioned some wedges out of white oak which will be used to split the tenons on the legs. This “simple machine” is a strong joint that uses a mechanical process in tandem with the chemical process of the glue to form a strong connection between the two different components of wood. Finally, the last step before applying glue to the workpiece is to put everything together in what is called a “dry-fit”. This is the first time I had seen the chair close to it’s final form, and I couldn’t have been happier with the outcome. After some minor tweaks slimming down the tenons on some of the cross bars to create a more even fit - I proceeded with the unforgiving step of applying glue.
I apply glue with an old paint brush, making sure I apply just enough so some squeezes out once the work piece is clamped. I used some painters tape on the legs to avoid having to sand away any glue that escaped the joints. Sanding against the grain produces unsightly results, so avoiding the need to do this can save some time in hard to reach corners of a piece. Finally, such an odd shaped piece didn’t play nicely with my traditional clamps (you can see them unused in the background hanging on the windowsill). Instead, I had to get creative and wrap the entire project in some cord I had in the garage. This applied pressure to the joints which allowed the glue to cure while the wood was in the location I wanted it to be, and avoided having loose joints which may break under pressure over the years.
Now we wait overnight for the glue to cure!
Finishing & Wrapping Up
Once the glue has cured, the only step left is some final sanding details, and to apply the finish. I used a boiled linseed oil finish that I thinned out with some mineral spirits. The mineral spirits help the oil penetrate deeper into the pores of the wood. I will admit that my finishing skills are not well developed. I chose this finish because it is easy to apply, will protect the wood from major aging issues, and darkens the natural tone of the wood adding a satin shine. The downside is that the finish takes about a month to completely cure, and can leave residue on cloth that contacts the stool before the finish has had that full curing duration.
After applying the third coat of finish, the stool was effectively complete! I took the piece outside to capture a shot in the sunshine, and Rooney came over to investigate the result of all the noise I was making in the garage.
Thank you for following along with my build. I hope you found something to enjoy in my story. And if you’re ever nearby, let me know if you’d like to test out the stool and take a look at the shop!


